Shower Pan Gel Coat Repairs
How to Cut a Shower Pan
Shower Pan Repair Paint Kit (NOT AVAILABLE IN THE US)-There are options in the US market.
Wall Panel Installation Instructions
Zero Entry Pan Installation Instructions
Recessed Shower Pan Installation Instructions
Although our product can be installed by “DIYs”, we recommend they be installed by a professional, contractor or licensed plumber. Our trays are designed to be installed easily and effortlessly, just follow the instructions pamphlet that comes with each unit and you will transform your bathroom shower in less time than expected from a regular bathroom remodel (see our animated video). The drain valve included with each unit has been designed specifically for the model of pan you chose, taking away any guess work, measure twice, install once. All you will need is a flexible polyurethane sealant and/or neutral silicone to finish the installation.
Once you receive your shower pan, make sure it is stored horizontally on a flat surface suitable for its size, check that it is leveled and that it drains properly (each pan is design with a natural fall for water to drain freely into the drain). Most trays are designed to be flush with your tile floor to create that flawless and infinity look of a modern bathroom. Our pans can be cut, if you are a few inches short, just make sure you use a diamond cutting blade. The optional repair kit can and will take care of any accidental damage that might arise during installation. Our product can be cleaned with water and soft soap applied with a sponge, never use abrasive products or tools. Light scratches can be removed with nail polish remover.
Shower Pan Installation Instructions
All our products come with a two year guarantee if installed correctly.
Please find the installation manual here. (This manual is in Spanish & English)
SafeBand Shower Tray Installation
SOLD SEPARATELY $ 121.00
Project 1: Heating Element & Pan Install
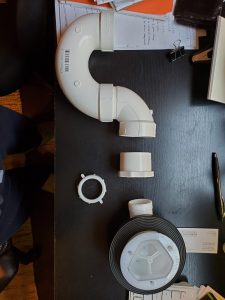
Plumbing Supplies Needed:


